Dekor Ideas is reader-supported. When you buy through links on our site, we may earn an affiliate commission at no extra cost to you.
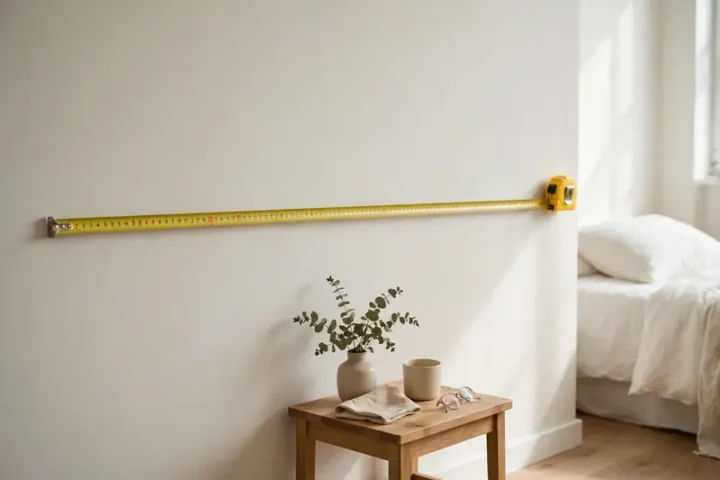
The best budget gallery wall ideas use frames you already own or thrift, free art you can legally print, and removable strips instead of nails. Plan the layout on paper, center it about 57 inches (145 cm) from the floor, and keep 2 to 3 inches (5 to 8 cm) between frames.
Below are nine no-nail layouts, 12 free art sources, hanging limits, and a cost plan by tier.
Free Furniture Buying Guide
The Furniture Buying Guide (free edition) — instant download.
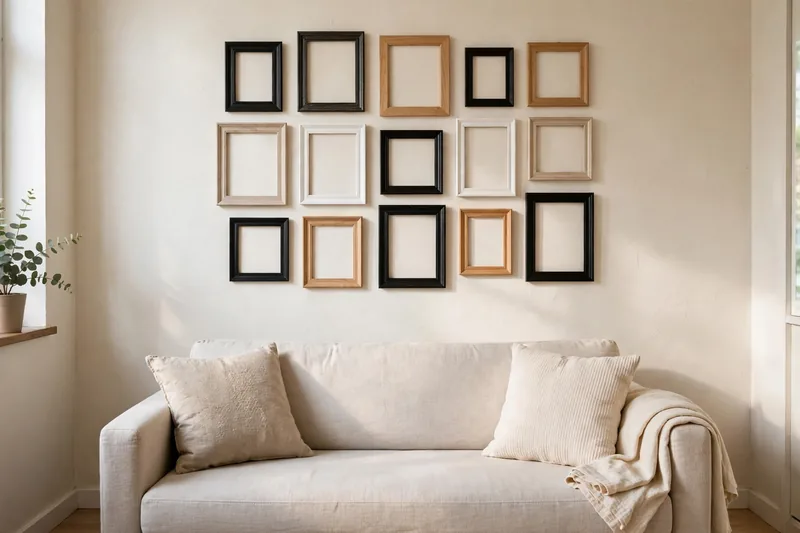
Budget Gallery Wall Ideas Explained: Plan, Frame, Hang
Budget gallery wall ideas follow three steps: plan the layout on paper, fill it with free or cheap art and frames, then hang it with a method that suits your lease and the weight.
The plan does the most work, because it prevents the mistakes that cost money. Everything below builds on those three steps.
A gallery wall treats many small pieces as one large artwork. When the gaps and the height stay consistent, even mismatched thrifted frames look deliberate.
Rental Rules First: Lease Check, Wall Test, and Photos
Before you buy anything, read your lease, test your wall, and take dated photos. Decorating a rental safely means knowing what your landlord allows and how your wall reacts to adhesive. A few minutes now protects your deposit later.
Before trying any budget gallery wall ideas, check whether your lease bans nails, adhesives, or both, and email your landlord if it’s unclear, keeping the reply. Then test one strip on a hidden spot for a day and peel it off gently.
Paint matters too. Wait about a week after painting before you stick anything to the wall, because Command’s UK instruction leaflet says to wait 7 days after painting before use. Textured and steamy walls hold adhesive less well, so use leaning layouts there.
Free Art for a Gallery Wall: 12 Sources That Cost Almost Nothing
Free art is a core part of budget gallery wall ideas, and it comes from things you made, things you already own, and images you’re allowed to print. Choose pieces that share a color or theme, and the wall will look unified even when the frames don’t match.
Always check the license before printing anything from the internet.
Make It Yourself: Photos, Drawings, and Kids’ Art
Among the best budget gallery wall ideas are pieces you made yourself, which cost almost nothing and draw the most attention. Print in black and white or one color tone so a mixed set looks like a collection, and add a white border or mat to make cheap prints feel finished.
1. Your Own Photos
Print favorites at home or at a store kiosk, in one color tone. Works well for: family walls and first apartments.
2. Kids’ Drawings
Frame two or three drawings in matching frames, and rotate them. Pairs with: a hallway row. Pro Tip: scan each drawing first, so you keep a copy.
3. Your Own Sketches or Stitching
A simple line drawing or a small embroidery hoop adds texture. Measure first for: the hoop’s depth against your strip.
4. Handwritten Recipes or Letters
Frame a recipe card or a short note in your own handwriting. Works well for: kitchens and dining nooks.
Use What You Already Own: Pages, Fabric, and Keepsakes
Things you already own can become art with a frame or a mat. Pages, fabric, and keepsakes add variety that bought prints lack. Keep each piece flat and light, so it fits in a thin frame and a single strip pair.
5. Calendar and Book Pages
Cut pages from an old art calendar or a damaged book and mount them in frames. Pairs with: botanical and travel themes.
6. Fabric and Wallpaper Samples
Stretch a remnant over card, or frame a wallpaper sample. Works well for: adding color to a neutral wall.
7. Postcards and Greeting Cards
A grid of postcards in matching frames looks collected. Measure first for: the card size against the frame opening.
8. Pressed Leaves and Flowers
Press leaves or flowers from your own yard or a walk, then frame them between glass. Pro Tip: keep them out of direct sun to slow fading.
Printable and Public-Domain Art: Free and Legal
Printable art is a smart part of budget gallery wall ideas, but it’s free only when the license allows it. Public-domain images and open-access collections are the safest sources, while many free pintables are for personal use only, so check each image’s terms and note where you found it.
9. Museum Open-Access Images
The Metropolitan Museum of Art offers images of public-domain artworks for free, unrestricted use under Creative Commons Zero, marked with a CC0 symbol. See The Met’s Open Access page.
10. Free Printables With a Clear License
Look for printables that state a license for personal use. Works well for: seasonal art you swap each year.
11. Engineer Prints and Posters
Large-format prints at a copy shop are cheap, and a thin frame carries them well. Measure first for: the poster size against your wall width.
12. Seasonal Swaps: Wrapping Paper and Gift Bags
Patterned paper in a frame makes quick seasonal art. Pairs with: a ledge, where swapping takes seconds.
Cheap Frames: Thrift, Repaint, and Mat Tricks
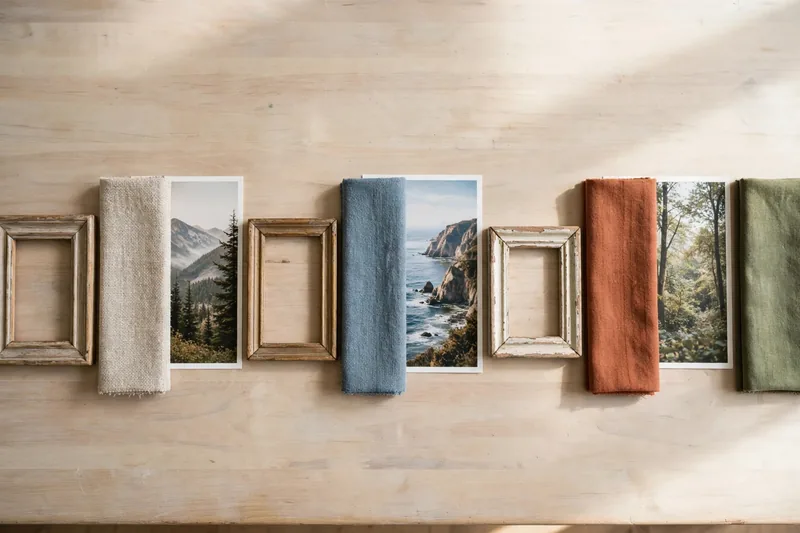
Cheap frames work best when they look like a set. Thrift stores and yard sales sell frames at low cost, and one coat of paint in a single color unifies them. Choose frames that share a depth, and check the opening size, not the outside size.
Take the art out, keep the frame, and paint it a single color. A matte black or warm white finish is the easiest to match. Let each coat dry fully before you put the glass back.
For budget gallery wall ideas that look polished, mount each print on heavy paper cut to the frame’s backing size, leaving an even border for a mat effect. It adds a layer between print and frame at the cost of just a sheet of paper.
Nine No-Nail Layouts: Gallery Wall Ideas That Fit a Rental
Each layout below is removable and works on a rental wall. Pick the one that matches your wall size and your frames. Whichever you choose, lay it out on the floor first, then move it to the wall with paper templates.
Frame Layouts: Grids, Clusters, and Rows
Frame layouts suit walls with several frames and a tidy result in mind, and they’re a practical part of budget gallery wall ideas. Grids and rows are the easiest to plan, while clusters give a looser, collected look, so choose the one that matches how many frames you own and how similar they are.
1. The Grid
Hang identical or near-identical frames in even rows and columns, with the same gap between every frame. A grid is the easiest layout for beginners. Works well for: matching frames and a modern look.
2. The Mixed Cluster
Group frames of different sizes so their outer edges form a loose rectangle. Start with the largest piece as an anchor and build outward. Pairs with: thrifted frames of different shapes. Pro Tip: repaint mismatched frames one color.
3. A Row Above the Sofa
Hang one long row above your sofa. Keep the bottom edge a few inches above the furniture and the row width near two-thirds of the sofa’s width. Measure first for: the sofa’s width and the space above it.
4. A Hallway Row
Hang a single row of small frames at eye level along a hallway. Narrow spaces suit small frames and a simple line. Works well for: family photos and light frames on strips.
Frameless Layouts: Light and Cheap
Frameless layouts are among the most affordable budget gallery wall ideas, costing and weighing the least while suiting renters who like to change the display often. Keep prints light and test each hanging method on a hidden spot before committing.
5. Prints With Washi Tape or Putty
Fix unframed prints to the wall with washi tape or mounting putty, and keep each piece lightweight. Works well for: a quick, cheap change.
6. String and Clips
Hang a string from two removable hooks and clip photos along it. You can swap the photos in seconds. Pairs with: rooms where you like to change things.
7. Peel-and-Stick Photo Tiles
Lightweight tiles stick on and can be repositioned. They cost more than prints, so use them for a small group. Measure first for: the wall width before you order.
Leaning Layouts: No Adhesive at All
Leaning layouts are among the safest budget gallery wall ideas for strict leases, since they need no adhesive at all. Frames rest on a ledge, ladder, or piece of furniture, making rearranging easy and suiting any wall finish.
8. A Picture Ledge or Ladder Shelf
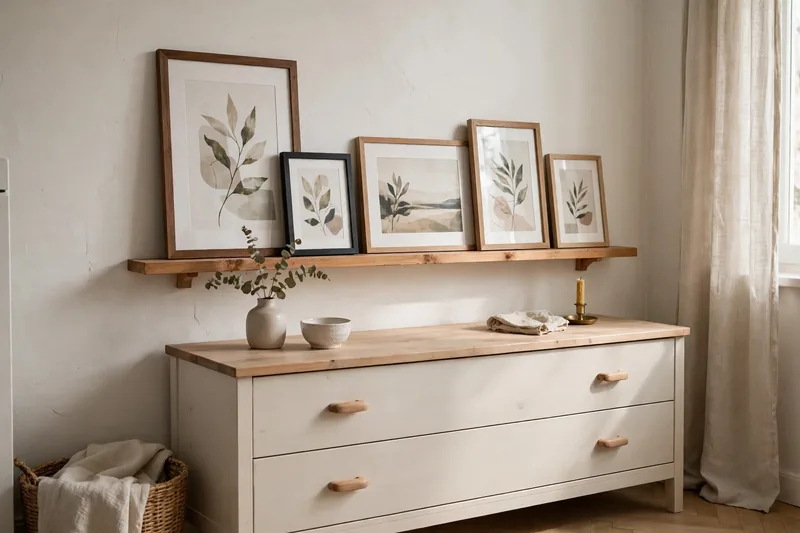
A narrow ledge or a leaning ladder shelf holds frames that rest against the wall, so you can swap them whenever you like. If a ledge is stuck on, check its weight rating, or choose a freestanding one.
9. Frames Leaning on a Dresser or Console
Stand frames on a dresser, console, or bookshelf and overlap them slightly. This costs almost nothing and removes every wall risk. Pairs with: a large mirror at the back.
Hang It Right: Spacing, Height, and Strip Limits
Three numbers make budget gallery wall ideas look planned: 2 to 3 inches between frames, a center point 57 to 60 inches from the floor, and a hanging method rated for the frame’s weight. These are common design guidelines, not strict rules, so adjust them slightly for your ceiling height.
3M’s Command listing says four pairs of medium picture hanging strips hold up to 10 pounds (about 5 kg), with a maximum frame size of 18 by 24 inches. Four pairs of large strips hold up to 15 pounds (about 7 kg), with frames up to 24 by 36 inches.
2–3 in (5–8 cm): space between frames.
57–60 in (145–152 cm): height of the center of the whole arrangement.
4–8 in (10–20 cm): gap between the bottom frame and furniture below.
10 lb / 15 lb: four pairs of medium / large Command strips, per 3M.
Source: Dekor Ideas; strip limits from 3M; spacing and height are common design guidelines.
For the strip details, see 3M’s Command medium strips page and large strips page. Weigh each frame on a kitchen scale before you choose strips, and use more pairs for larger frames.
Hanging Methods Compared: Which Fits Your Lease and Your Frames
Hanging methods for budget gallery wall ideas differ in strength, wall risk, and cost, so match the method to the frame’s weight and your lease. Strips suit most framed pieces, putty and tape suit light prints, and leaning suits strict leases, as the table below compares for renters.
| Method | Best for | Wall risk | Budget tier |
|---|---|---|---|
| Picture hanging strips | Framed pieces within the rated weight | Low if the wall is clean and cured | Under $25 |
| Mounting putty | Light, unframed prints | Low; can leave marks on some paint | Under $25 |
| Washi tape | Paper prints, short-term displays | Low; test first | Under $25 |
| String and clips | Photos you swap often | Low; depends on the hooks | Under $25 |
| Photo tiles | Small groups of light prints | Low if the wall is clean | $50–$150 |
| Leaning on a ledge or furniture | Strict leases, any wall finish | None | Under $50 |
Risk ratings and tiers are Dekor’s own estimates. Always follow the package directions and your lease.
Budget Tiers: A Full Wall Without the Price Tags
Budget gallery wall ideas fit three tiers: under $25, under $50, or $50 to $150. Start in the lowest tier and add only what the layout needs, one piece at a time, since these are budget tiers, not product prices.
Under $25: your own prints, thrifted frames, painter’s tape, a few strips.
Under $50: add a set of matching frames or paper mats, and more strips.
$50–$150: add photo tiles, a picture ledge, or larger frames.
Budget tiers, not product prices. Source: Dekor Ideas.
Want the colors to match? Build a palette from your art with the Color Palette Generator. For more damage-free ideas, see our renter-friendly upgrades guide.
Build It in One Afternoon: The Paper-Template Method
A paper-template plan lets you test your budget gallery wall ideas without touching the wall. Trace each frame on paper, tape the cutouts up, and adjust until the layout looks right, then hang from the center out, one frame at a time.
1. Trace each frame on paper and cut it out.
2. Tape the cutouts to the wall with painter’s tape.
3. Keep 2 to 3 inches between every piece.
4. Center the whole arrangement about 57 to 60 inches from the floor.
5. Check each frame’s weight against the strip rating.
6. Test one strip on a hidden spot before you start.
7. Hang the center piece first, then work outward, checking with a level.
8. Step back across the room, not just from two feet away, and adjust.
If you are hanging above a sofa, check the space with our guide to arranging furniture in a small living room.
Protect Your Art and Your Walls: Heat, Sun, and Steam
Where you hang a gallery wall affects how long the art lasts. Heat, direct sun, and steam can fade, warp, or loosen prints and adhesive. Choose a wall away from radiators, fireplaces, and showers, and keep unframed paper out of damp rooms.
Placement matters for budget gallery wall ideas: if your best wall gets direct sun, use frames with glass or acrylic and keep precious pieces elsewhere. In a bathroom or kitchen, choose leaning layouts or moisture-rated strips.
Our small bathroom guide for renters covers steam in more detail.
Common Mistakes: What Makes a Gallery Wall Look Off
The most common mistakes are hanging too high, uneven gaps, and strips that cannot carry the weight. Each one makes the wall look accidental or lets a frame fall. Avoid these six and your wall will look planned.
Hanging it too high. Your own eye level usually hangs art too high. Use the fixed 57-to-60-inch center.
Using uneven gaps. Gaps that vary look messy. Keep one spacing from edge to edge.
Overloading a strip. Check the frame’s weight against the package. Use more pairs for larger frames.
Hanging on fresh paint. Strips may not hold on paint that has not cured. Wait about a week.
Printing art without checking the license. Many free printables are for personal use only. Use open-access images or your own work.
Skipping the paper test. Moving a strip can mark the paint. Plan with paper first.
Taking It Down: Move-Out Reset
On move-out day, release each strip by pulling the tab slowly down along the wall, rather than away from it, and follow the package directions.
Command’s UK instruction leaflet says the strips are for one-time use, so do not reuse them. Compare the wall with your before photos.
Keep the frames and art, and patch nothing, because there should be nothing to patch.
How do I hang a gallery wall without nails?
Use picture hanging strips rated for your frames’ weight, plus a paper template to plan the layout. Clean the wall, press each strip firmly, and keep 2 to 3 inches between frames. For strict leases, lean frames on a ledge, a dresser, or a ladder shelf instead.
How much does a budget gallery wall cost?
It depends on your tier. Under $25 covers your own prints, thrifted frames, and strips. Under $50 adds matching frames or paper mats. The $50 to $150 tier adds photo tiles, a ledge, or larger frames. Printing your own photos and repainting mismatched frames save the most.
How much weight do Command strips hold?
3M lists four pairs of medium strips as holding up to 10 pounds, with frames up to 18 by 24 inches. Four pairs of large strips hold up to 15 pounds, with frames up to 24 by 36 inches. Always check the package for your specific product.
How far apart should gallery wall frames be, and how high?
Keep 2 to 3 inches between frames, and use the same gap throughout. Center the whole arrangement 57 to 60 inches from the floor. These are common design guidelines, so adjust a little for very tall ceilings or very small frames.
Where can I get free art for a gallery wall?
Print your own photos, or use public-domain images. The Met marks its public-domain images with a CC0 symbol, meaning you can use them freely. Other sites have different rules, so check the license before you print, and avoid anything marked for personal use only.
Can I do a gallery wall on a textured, freshly painted, or steamy wall?
It is harder. Strips may not grip textured walls, fresh paint needs about a week to cure, and steam loosens adhesive. Test a strip on a hidden spot first. If it does not hold, use leaning layouts or a freestanding ledge instead.
How do I make a gallery wall in a small living room?
Use a tight grid, a single row above the sofa, or a picture ledge, and keep to two or three colors. Leave space around the arrangement so the wall does not feel busy. One well-planned wall works better than three crowded ones.
Wrap-Up: Plan on Paper, Hang With Strips
The best budget gallery wall ideas are simple. Plan on paper, fill thrifted frames with free or cheap art, and hang everything with a method rated for the weight. Keep the center about 57 inches from the floor and the gaps even.
Start with the grid or a leaning layout. Add a few pieces at a time, and you will still have your deposit when you move out.

Sarah Mitchell
Sarah Mitchell writes store guides for Dekor Ideas. We're an independent site not affiliated with American Furniture Warehouse. Her guides are based on retailer information, trade press, and shopper feedback, checked and updated as details change.